


 简体中文
 日本語
 繁體中文
 한국어
 ภาษาไทย
 Deutsch
 France
 España
 Sverige
 Nederland
 ViệtNam
 Malaysia
 Indonesia

用微信扫码二维码
分享至好友和朋友圈


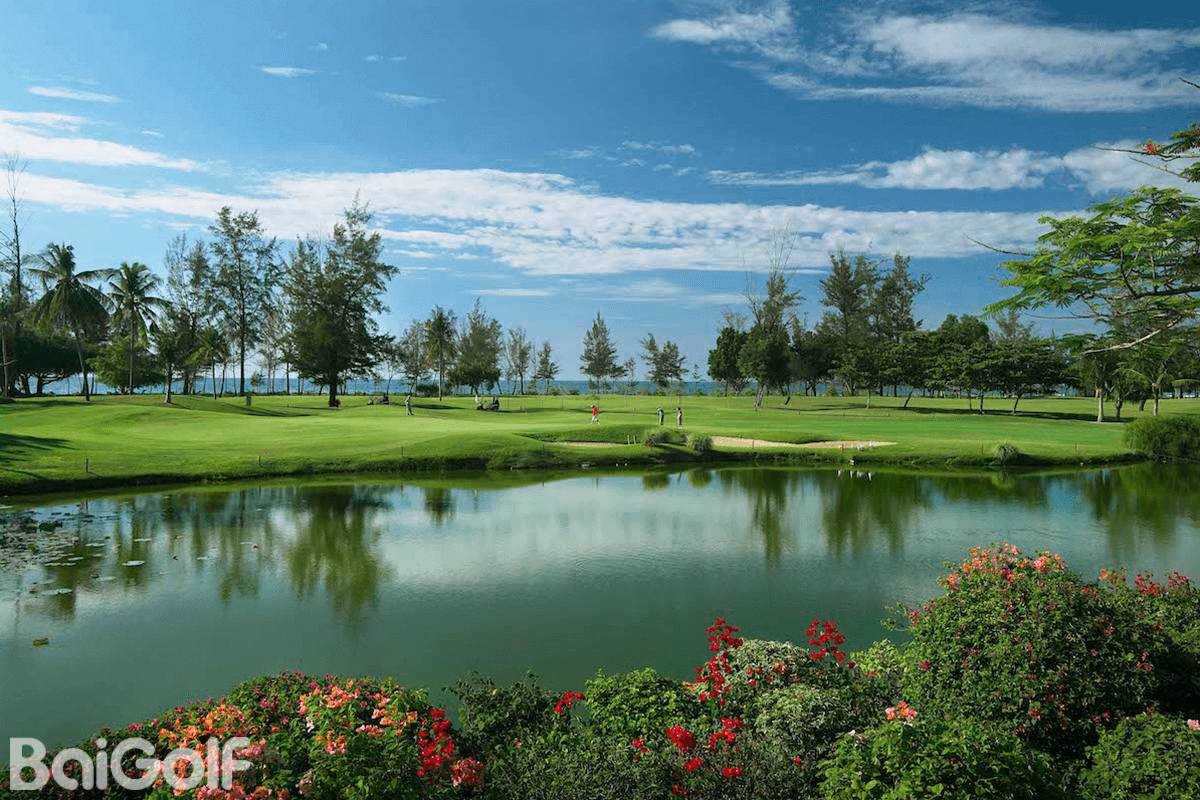
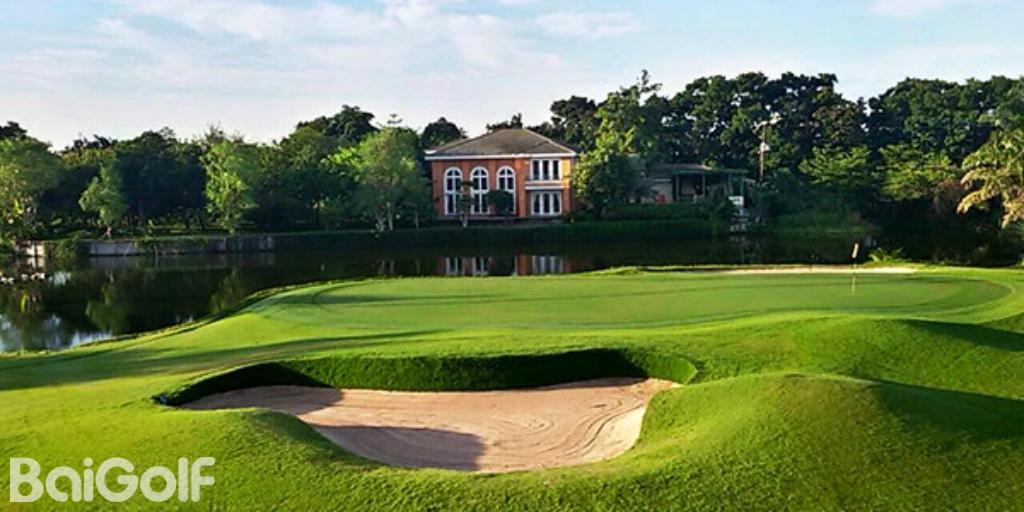
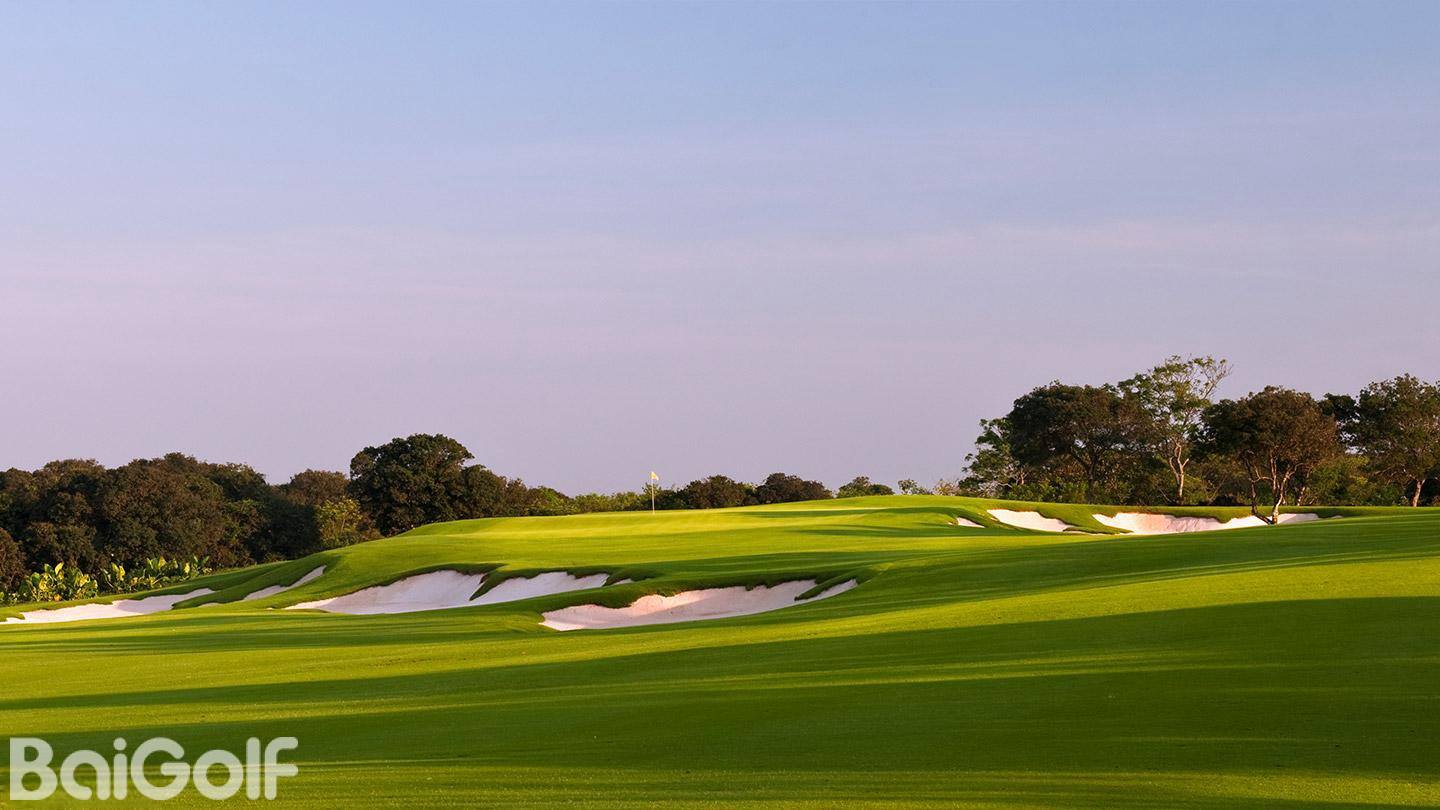
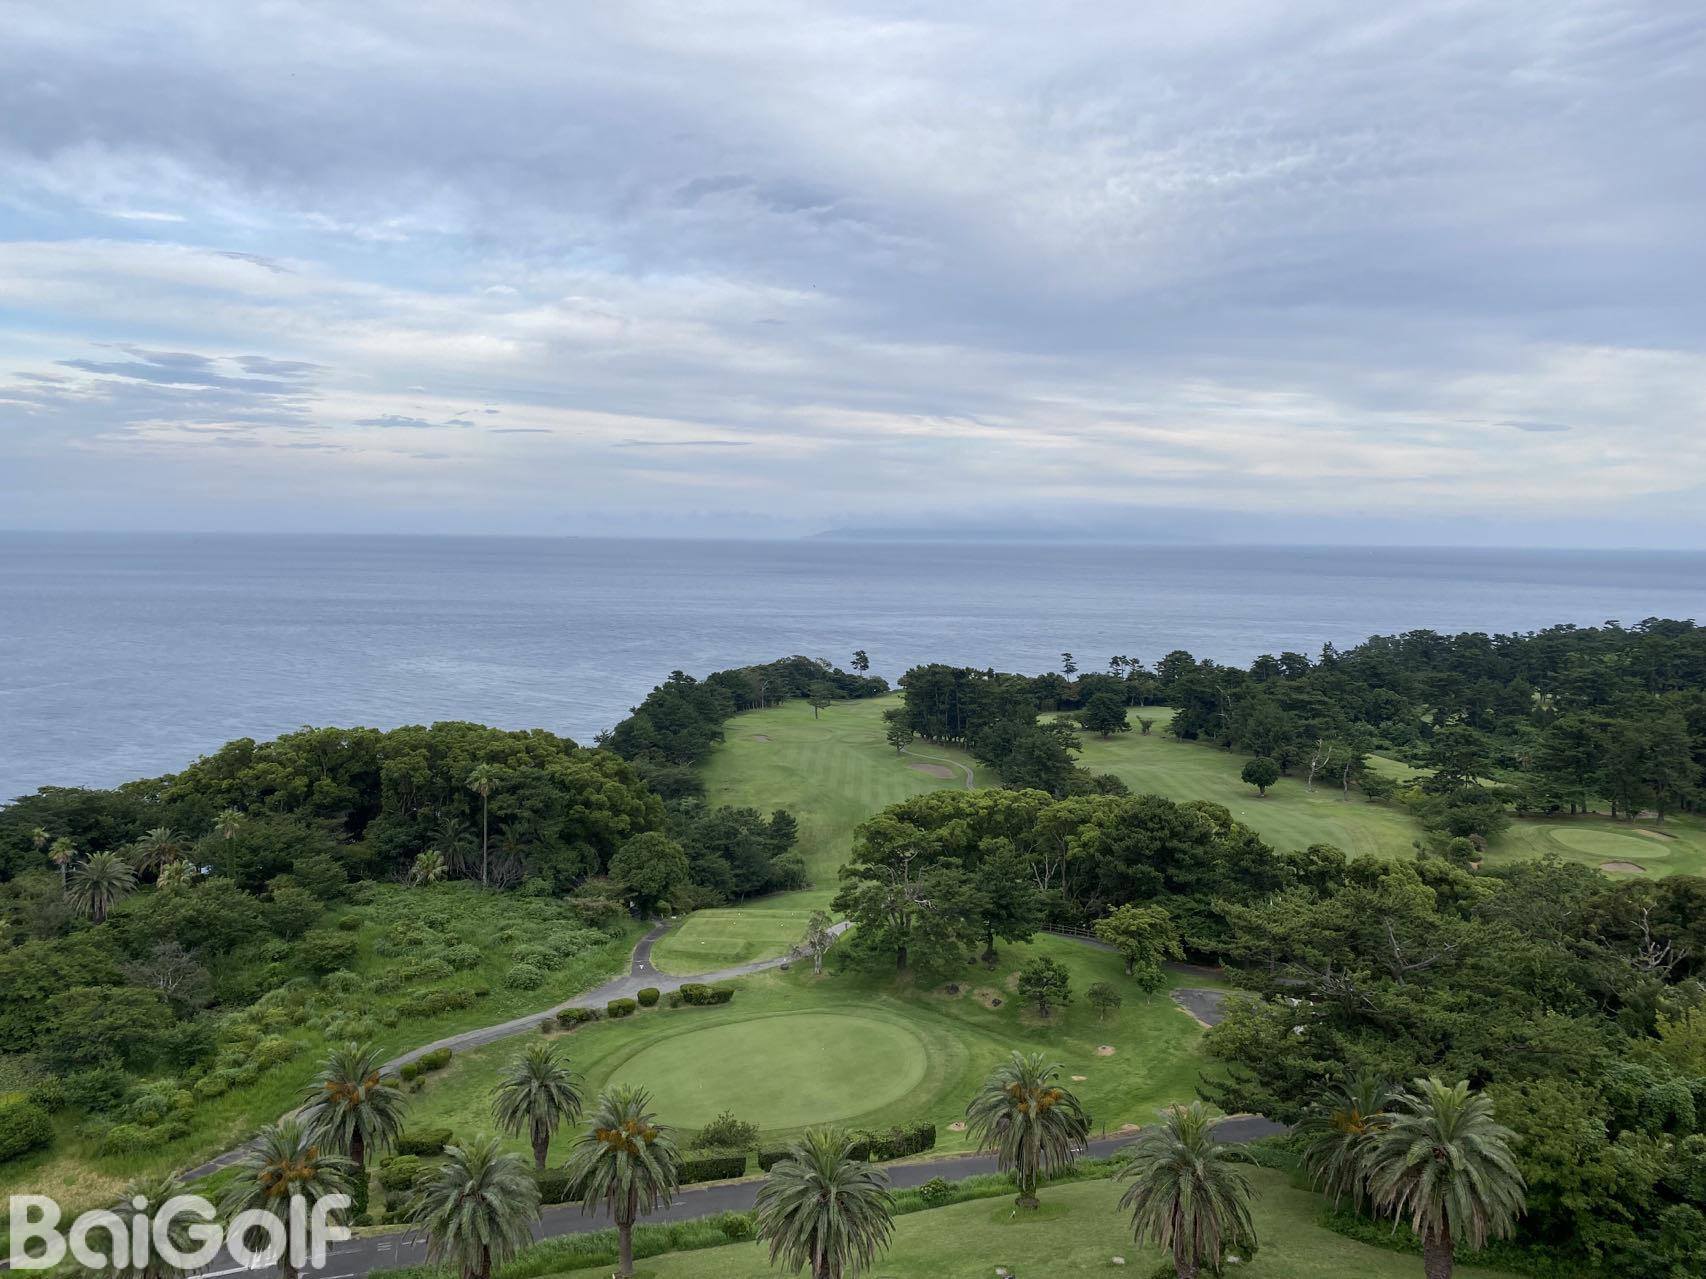
Designed by the world-renowned golf course architect Robert Trent Jones Jr., Oak Valley Country Club preserves the natural landscape, offering an elegant and dynamic layout that rivals any of the world’s most prestigious golf courses. Spanning 36 holes and seamlessly integrated into the beautiful natural scenery, Oak Valley Country Club has long been a sought-after destination for professional golfers and remains a beloved choice for players today.


Club Accommodations
1. Valley Village
Experience an elegant and private retreat in these Mediterranean-style European villas.
Room Types:
Villa A & B, Villa S, Villa N

Pietfin House

Character-themed Rooms (featuring *Bread Barbershop*, *Robocar Poli*, *The Haunted House*, *Robot Trains*, *Bungaeman*, etc.)

2. Hills Village
Room Types:
Tower C, Tower D


Facilities
Dining
1. Yunchi Restaurant
Features signature dishes inspired by the diverse culinary traditions of Korea’s eight provinces, highlighting the authentic flavors of the ingredients.

2. Terrace Restaurant
Offers a relaxed barbecue dining experience with close-up views of the natural surroundings.

Halfway House
Newly constructed next to the 1st hole of the Cherry Course, providing a perfect space to rest and enjoy refreshments.

Pro Shop

Course Guide
Oak Course
Hole 1: An uphill par 4; requires precise shot-making to avoid the thicket on the left and the forest on the right.

Hole 2: Features a significant elevation change between the tee box and the green, with a downward slope beginning from the second-shot landing area—offering long hitters a chance to reach the green in two strokes.

Hole 3: A short par 4 with a two-tiered fairway that curves slightly to the right.

Hole 4: Relatively short, but with the danger of an out-of-bounds (OB) area; aim your tee shot to the left of the bunker ahead.

Hole 5: A longer hole featuring a two-tiered green, requiring careful club selection.

Hole 6: Requires a precise shot into the space between the green and the woods on the right.

Hole 7: A downhill par-3 with a significant slope and a narrowing field of view; there is a large elevation difference between the fairway and the green.

Hole 8: A steep, 433-yard hole; when putting, be careful to avoid the slope on the left, as the ball may slide down.

Hole 9: For your first shot, it is recommended to aim for the center of the fairway, approximately 100 yards out.

Maple Course
Hole 1: The right side is generally higher; the terrain slopes toward the back-left and front-right. Be mindful of the steep inclines at the front and back of the slope.

Hole 2: A challenging hole, featuring dense woods on both sides, a depression in the center of the green, and a water hazard positioned in front of the green.

Hole 3: A downhill par-3; while the green is relatively flat and accessible, note that it is quite narrow in terms of its lateral dimension.

Hole 4: The fairway is flanked directly by woods on both sides, and the landing area is uneven.
Hole 5: Aim your tee shot toward the left edge of the fairway. Since the second shot will be from a lower elevation than the landing zone, consider choosing a shorter club.

Hole 6: Aim your first shot toward the trees to the left of the center of the green; for your second shot, aim toward the small tree located to the right, near the edge of the green's slope.

Hole 7: A challenging hole with a narrow fairway, bordered by an out-of-bounds (OB) area on the left and woods on the right.

Hole 8: The longest par-3 on the course, featuring a downhill slope with a 13-meter elevation drop from the teeing ground to the green.

Hole 9: Features woods along the left side of the fairway and a lake along the right, requiring both distance and precision.

Pine Course
Hole 1: a long hole with a lateral water hazard on the right side of the fairway and a bunker positioned in front of the green, making it quite challenging.

Hole 2: a demanding par 4, featuring a 26-meter elevation change between the tee and the green, along with a slight dogleg to the right. For your tee shot, aim to the left of the bunker located on the right side of the fairway.

Hole 3: features a two-tiered green that slopes from left to right. The terrain is designed so that the left side slopes from front to back, while the right side slopes toward the fairway; therefore, precise control over both direction and distance is essential.

Hole 4: a short, downhill par 4. However, the narrow fairway—combined with a bunker and a hazard area on the right side of the landing zone—adds significant pressure to your shots.

Hole 5: includes a long, narrow hazard area that stretches from the left side of the fairway all the way to the front of the green. For your tee shot, aim to the left of the fairway bunker on the right side.

Hole 6: features a stream that runs from the right side of the fairway toward the front of the green, creating a challenging, high-pressure environment. It is recommended to aim toward the fairway bunker on the left side.

Hole 7: a par 3 where the green sits at a higher elevation than the tee; be mindful of the slight uphill incline and the bunker positioned on the right.

Hole 8: offers a relatively wide fairway and a two-tiered green that slopes from right to left. Choose your club carefully based on the specific position of your ball.

Hole 9: It is recommended to aim your shot directly toward the center of the green.

Cherry Course
Hole 1: a downhill, left-dogleg hole with a wide fairway. The best strategy is to aim your tee shot to the right of the bunker located on the left side of the fairway.

Hole 2: a short par 3, with the green situated on an "island" surrounded by a water hazard.

Hole 3: For the second shot, aim toward the middle or left side of the green to avoid the bunker in the front-left and the steep slope on the right.

Hole 4: since the area to the right is out of bounds, it is advisable to aim your shot toward the far end of the left side of the fairway.

Hole 5: features a slight dogleg to the left; for your tee shot, it is best to aim for the area between the bunkers on either side of the fairway.

Hole 6: a downhill par 3. The green slopes steeply away from the center in all directions, making putting a significant challenge even if you land the ball on the green.

Hole 7: a straight par 5 that favors long hitters. For the tee shot, it is better to aim toward the right side of the fairway rather than the dead center.

Hole 8: aim for the 100-yard marker on the right with your tee shot. The second shot requires precision; keep in mind that the green is tiered into three levels and slopes upward from left to right.

Hole 9: the safest strategy is to aim to the right of the bunker located in the middle of the fairway. Beyond the initial landing zone, the terrain rises toward the green, so it is recommended to select a club one or two sizes larger than you would normally use.

BaiGolf
✅From Hong Kong, China, providing resources for many well-known companies in Asia
✅Established 10 years ago, serving millions of international users
✅There are more than 10,000+ real reviews from golfers on the app
✅Provide services in 14 languages including Chinese, English, Japanese, Korean, etc.
✅Can book 5,000+ golf courses, including golf courses in China, Japan, Korea, Singapore, Malaysia, Thailand, Indonesia, UAE, Scotland, etc.
✅The system records user information for easy booking next time
✅Online 24 hours a day, accepting a large number of orders
✅Through the new generation of BGMS system, more than 1,000 golf courses in Asia are connected in real time